Before we can start, you have to set up one more loadbalancer, lb-2, as described here. Now you have 4 VMs in place: two of them are acting as webservers, two as loadbalancers with haproxy. Before we continue with installing the cluster, check if both loadbalancers route to both webservers.
You can use the commandline-client httpie[1] for that:
tim@plutonium:~$ http lb-1.intranet
HTTP/1.1 200 OK
accept-ranges: bytes
cache-control: private
content-length: 125
content-type: text/html
date: Fri, 11 Dec 2020 08:01:25 GMT
etag: "7d-5b3e90866c394"
last-modified: Thu, 12 Nov 2020 13:38:53 GMT
server: Apache
set-cookie: WEB-SRV=web-1; path=/

<html>
<head>
<title>you are on webserver: web-1</title>
</head>
<body>
<h1>you are on webserver: web-1</h1>
</body>
</html>
Since both loadbalancers are working well, we can install the cluster on both loadbalancer VMs as described below:
- Install pattern “ha_sles”
zypper in -t pattern ha_sles- Install needed packages for corosync
zypper in corosync-qdeviceAfter pattern is installed sucessfully, start the cluster configuration wizard in yast:
yast clusterThe following window will appear: 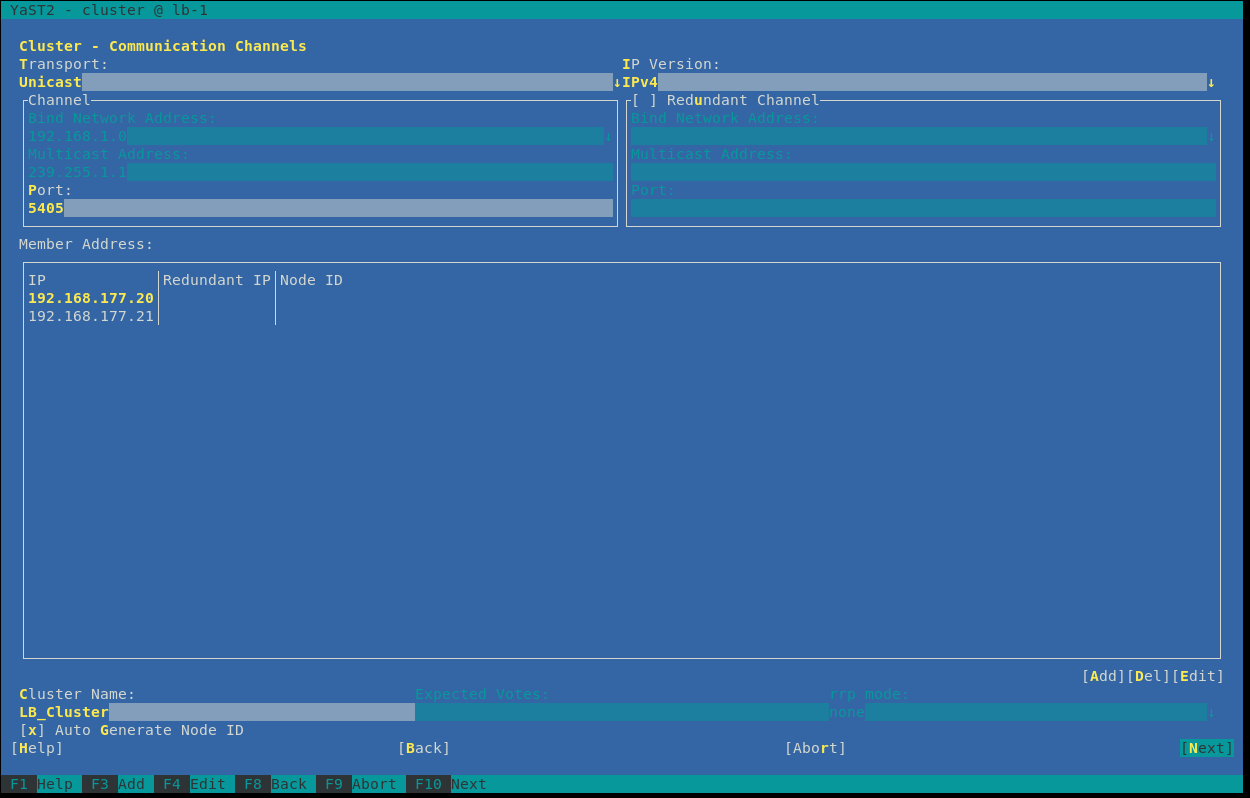
This is the main configuration for the cluster. You have to decide which transport protocoll is used by the corosync component. Corosync is responsible for the heartbeat and the messaging layer. In some companies, Multicast may be blocked and you have to use Unicast. In our setup, we also use Unicast. The Port is predefined as 5405, which is good in this case. The next step is to add each node of the cluster. A node is also called member, you can add it by pushing “Add”. Then you have to type in the IP of the first node. In our case, it’s the IP of the lb-1 machine, e.g.: 192.168.177.20. Add the other node with it’s particular IP. On the left side you can define a name for the whole cluster – but that’s not important for us right now. Finally click on “Next”.
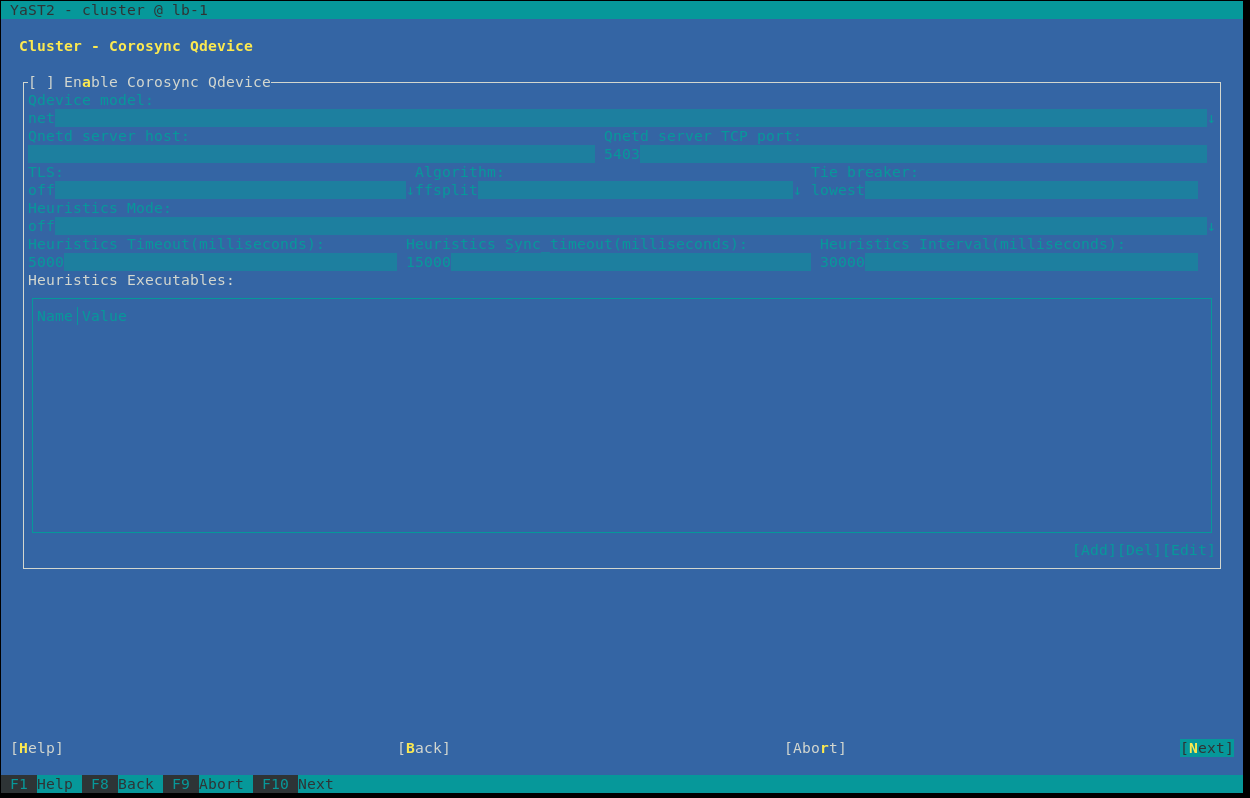 In this screen you can configure qdevice, but we skip that feature by clicking “Next”.
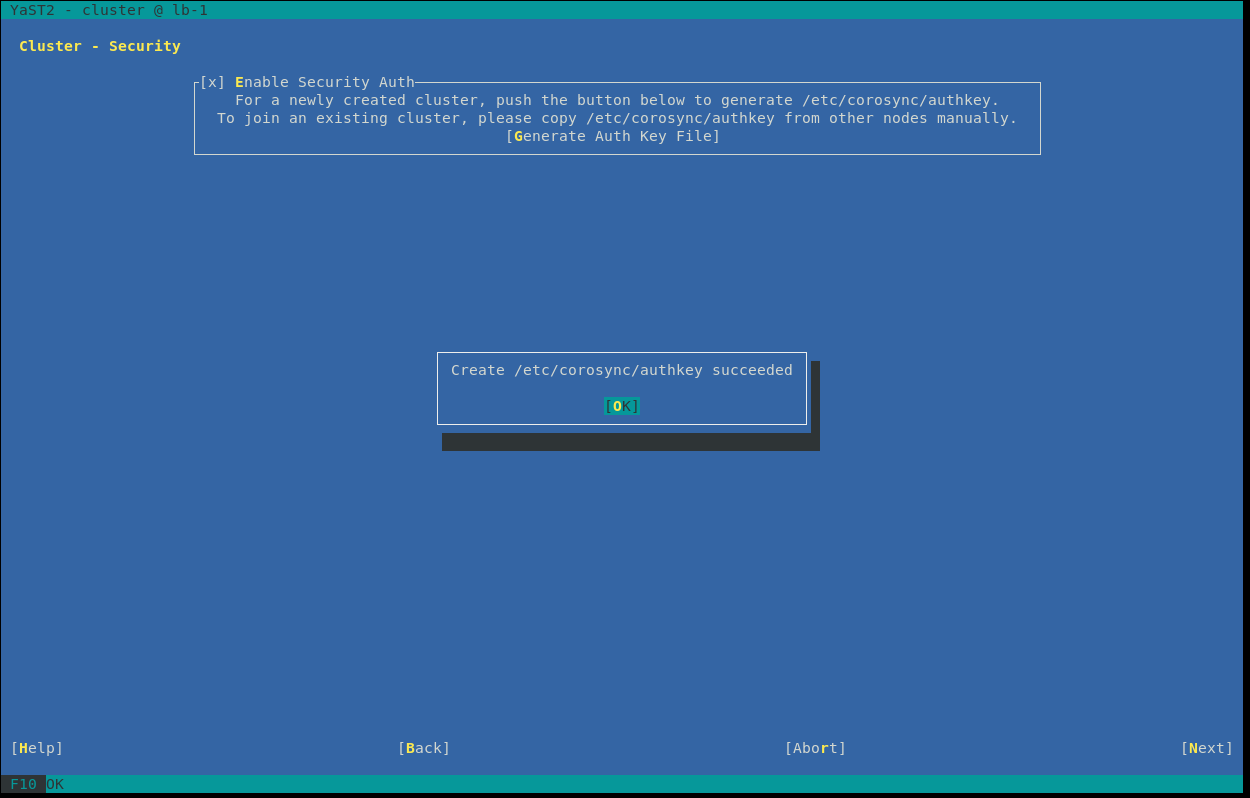 A very important feature is to activate, generate and propagate a security auth. Enable this feature and click on “Generate Auth Key File”, then you will see that the authkey file was successfully generated in path:
 /etc/corosync/authkey Go to the next screen by clicking “Next”.
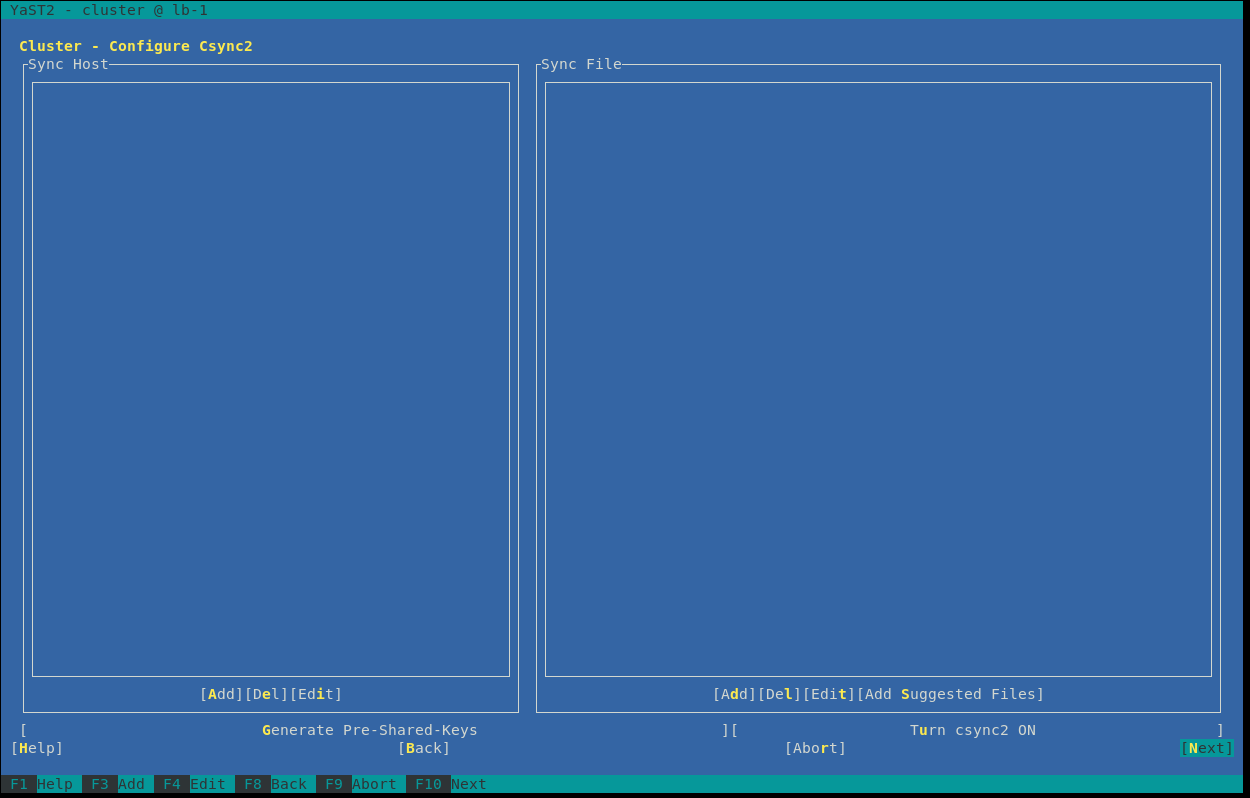 Csync2 is a feature for syncing files between nodes manually. We skip this feature by clicking “Next”.
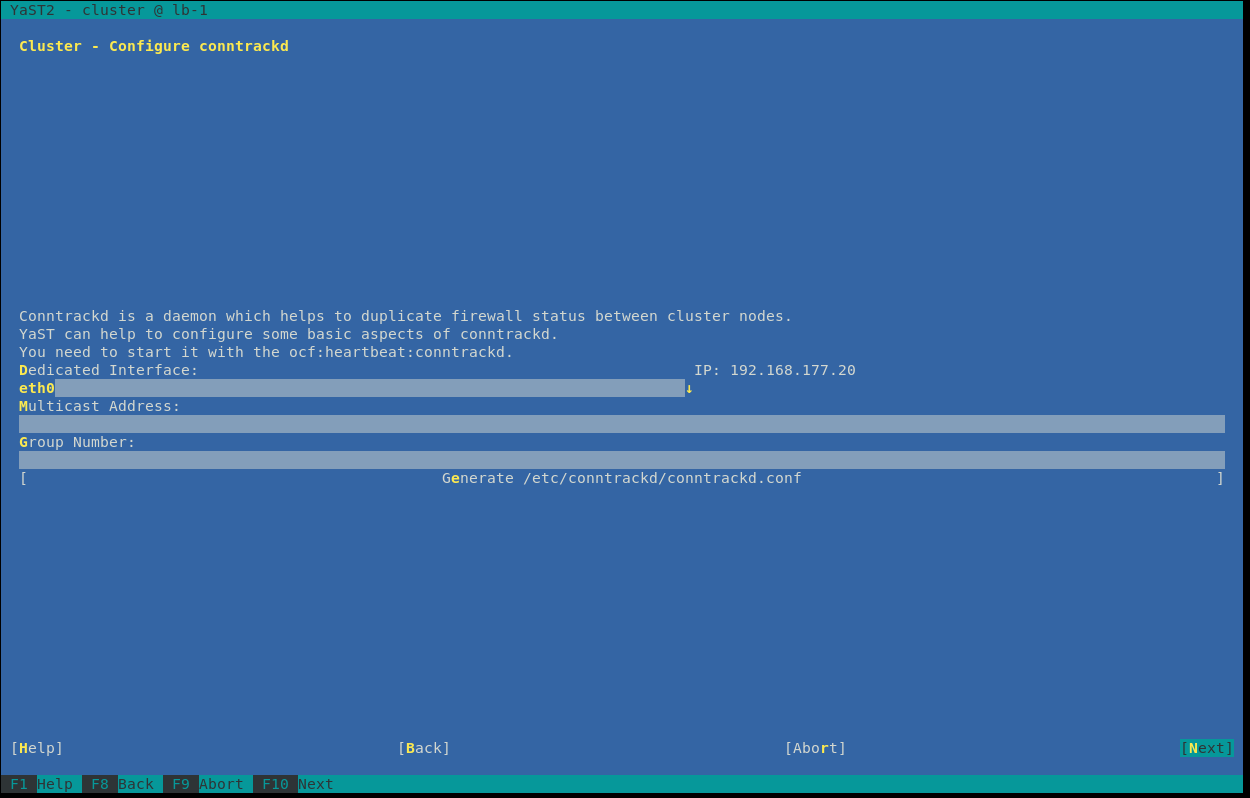 Also the feature contrackd should be skipped right now. Click “Next”.
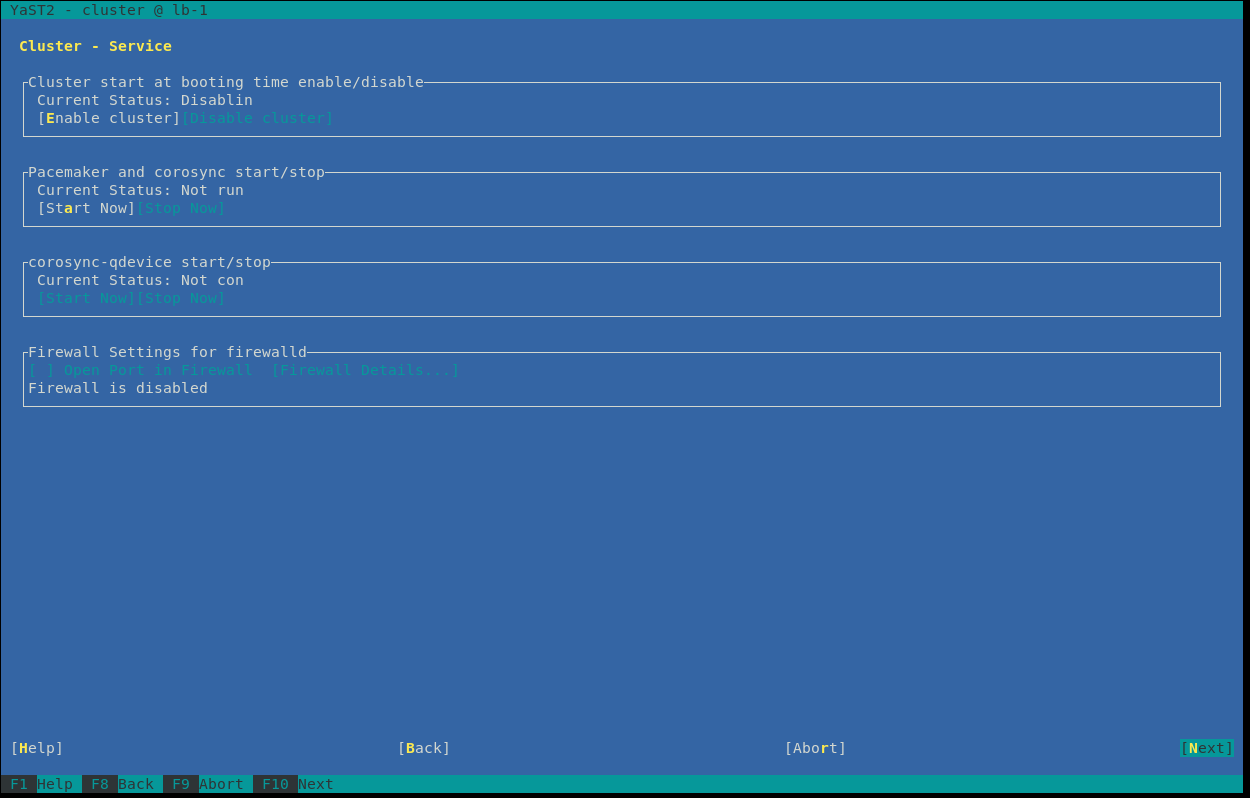 Finally, you see an overview about the process and firewall behavior. The default settings are good for our setup, so clicking “Next” will configure the cluster components and exit the cluster module in yast.
After the cluster is prepared on this node, you have to integrate the next node into the cluster. You should still be connected via SSH to the first configured node. Now just copy both the configuration and the authkey for corosync to the other node:
lb-1:~ # cd /etc/corosync/
lb-1:/etc/corosync # scp corosync.conf authkey lb-2:`pwd`/
corosync.conf                                100% 2277     1.6MB/s   00:00
authkey                                      100%  128   106.0KB/s   00:00
lb-1:/etc/corosync #
It’s time to start the cluster on one node and check if the node came up:
- start pacemaker which also starts corosync beforehand
lb-1:~ # systemctl start pacemaker- check if node came up accordingly
lb-1:~ # corosync-cfgtool -s
Printing ring status.
Local node ID 1084797204
RING ID 0
        id        = 192.168.177.20
        status        = ring 0 active with no faults
If you a result like this, everything seems to be ok. Let’s check at pacemaker level if cluster is up and running:
lb-1:~ # crm_mon -rnfj
Cluster Summary:
  * Stack: corosync
  * Current DC: lb-1 (version 2.0.4+20200616.2deceaa3a-3.3.1-2.0.4+20200616.2deceaa3a) - partition WITHOUT quorum
  * Last updated: Fri Dec 11 11:48:18 2020
  * Last change:  Fri Dec 11 11:42:46 2020 by hacluster via crmd on lb-1
  * 1 node configured
  * 0 resource instances configured

Node List:
  * Node lb-1: online:
    * Resources:

Inactive Resources:
  * No inactive resources

Migration Summary:
The cluster is up and running with the first node lb-1. Let the connection to the first node still open and observe changes in the result of the crm_mon command. Let’s start the second node in the meanwhile. To do so, connect to lb-2 via SSH and start pacemaker:
systemctl start pacemakerYou will see some changes in the result of the crm_mon command:
Cluster Summary:
  * Stack: corosync
  * Current DC: lb-1 (version 2.0.4+20200616.2deceaa3a-3.3.1-2.0.4+20200616.2deceaa3a) - partition with quorum
  * Last updated: Fri Dec 11 11:51:33 2020
  * Last change:  Fri Dec 11 11:42:46 2020 by hacluster via crmd on lb-1
  * 2 nodes configured
  * 0 resource instances configured

Node List:
  * Node lb-1: online:
    * Resources:
  * Node lb-2: online:
    * Resources:

Inactive Resources:
  * No inactive resources

Migration Summary:
The second node lb-2 is online now.
In the next and finale article of this series, we will interact with the cluster itself and integrate the haproxy, to get a high available loadbalancer.
If you want to shorten the time until the next article, solve the following tasks:
- Ensure that all VMs have the same timezone and time configuration.
- Check that all VMs are reaching each other by IP and (host-/dns-)name, even if the DNS is not working.